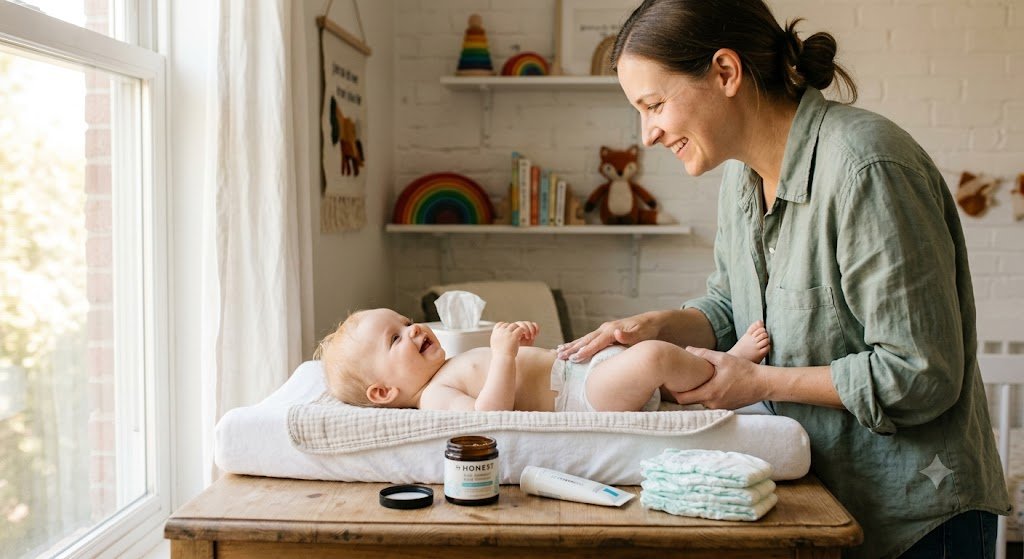
It’s 2 a.m., you’re changing a diaper on autopilot, and then the flashlight of your phone catches it: an angry red patch spreading across your baby’s bottom that definitely wasn’t there at bedtime. If you just muttered something you’d never say in front of the kids, welcome. You’re in good company.
My youngest son is nineteen months old, which means I am deep in year six of continuous diaper duty across three kids, and I can tell you the thing nobody says out loud: the cream is not the whole fix. I learned that the slow way with my daughter, back when I thought a thicker layer of the same ointment would eventually win through sheer stubbornness. It didn’t. What wins is a system, and the system is boring and unglamorous and it works: change more, rinse instead of scrub, let the skin breathe, and put the right product on at the right stage.
That’s what this kit is. Four components, each doing one job. The gear list is short on purpose, because a rash doesn’t care how many products you own. It cares whether skin is staying dry and protected.
The 48-Hour Battle Plan
Before the shopping list, the method. This is the routine pediatric guidance keeps coming back to, and it’s the routine that has pulled every one of my three kids out of a flare. Run it consistently and a mild rash usually looks dramatically better within two to three days.
- Change more often than feels reasonable. Every two hours or so while awake, and immediately after every poop. Wetness sitting on skin is the number one enemy, and a rash-recovery diaper schedule is more aggressive than a normal one.
- Rinse, don’t scrub. During a flare, skip the wipes when you can and rinse with warm water instead, or use a soft wet washcloth. Pat dry. Rubbing raw skin sets you back a full day.
- Air it out. A few sessions of bare-bottom time a day, ten to fifteen minutes each, does more than any product. Air is free and skin heals faster when it’s dry. Component 4 of the kit exists purely to make this less terrifying for your rugs.
- Barrier up, thick. Apply zinc oxide cream like you’re frosting a cake, at every change. And here’s the part that surprises most parents: you don’t need to wipe all the old cream off each time. Gently clean the soiled layer and add more on top. Scrubbing down to bare skin every change undoes your progress.
Everything below is just the equipment that makes those four steps easy enough that you’ll actually keep doing them at hour thirty-six.
Component 1: The Treatment Cream (Zinc Oxide)
This is your flare-up weapon. Zinc oxide creams come in different strengths, and the percentage on the tube actually matters: everyday formulas sit at the lower end and are meant for prevention and mild redness, while maximum-strength pastes climb to around forty percent zinc oxide and are built for a full-blown angry rash. During a real flare, you want the strong stuff, applied thick.
The texture tells you it’s working, by the way. A proper zinc paste is stiff, chalky, and mildly annoying to spread. That stubbornness is the point: it stays put between changes instead of migrating into the diaper.
Desitin Maximum Strength Diaper Rash Paste
The benchmark everything else gets measured against. Forty percent zinc oxide is the highest concentration you can buy over the counter, and Desitin has been the tube pediatricians and hospital nurseries reach for since the 1950s. It’s a thick yellow paste that seals a raw, angry rash off from urine and friction for the whole night, and the difference by the morning change is usually visible. Two honest warnings: the smell is strong (that’s the cod liver oil, and it really does smell like a fish counter), and the formula contains lanolin and added fragrance, so if your baby runs sensitive, use the next pick instead.
Boudreaux’s Butt Paste Maximum Strength
Here’s the label-reading secret: this has the exact same forty percent zinc oxide as Desitin Max. What it strips out is everything that gets complaints, meaning no fragrance, no lanolin, no talc, no cod liver oil. It spreads more smoothly on a wriggling baby, wipes off more cleanly, and there’s almost always a coupon stacked on the listing. If the lanolin caveat later in this article applies to your little one, this is your treatment pick. Fair warning on aesthetics: the color is putty-beige and looks like nothing you’d want near a baby. It works anyway.
I went deep on this category already, comparing the major zinc creams head to head on strength, texture, and what parents actually report back. If you want the full breakdown before choosing, that comparison lives here: the best diaper rash creams, compared.
One more logistics note for daycare families: buy a second tube to live in the daycare bag, and leave a short note asking the teachers to apply a thick layer at every change during a flare. You can’t control how often someone else changes diapers, but you can control what goes on at each change.
Component 2: The Barrier Ointment (Your Prevention Layer)
The distinction that took me an embarrassingly long time to learn: treatment cream and barrier ointment are two different tools, and most families only stock one of them.
Zinc oxide paste is for active rashes. A petrolatum-based barrier ointment is for the day after the rash clears, and every ordinary day after that. A thin layer at each diaper change puts an invisible raincoat between skin and the next wet diaper, which is how you stop riding the flare-up carousel. Petrolatum ointments in this class are semi-occlusive, meaning they seal wetness out while still letting the skin breathe and hold onto its own moisture, which is what separates them from a pure grease layer.
Aquaphor Baby Healing Ointment (14 oz jar)
This is the one that shows up in practically every nursery for a reason. The formula is built around forty-one percent petrolatum with skin-soothers like panthenol and glycerin, it’s free of fragrance and preservatives, and the label directions match the battle plan exactly: apply with every diaper change, especially before bedtime or any stretch when a wet diaper might sit longer. The tub format sounds unhygienic until you’re doing one-handed changes at 3 a.m., at which point it becomes genius.
One honest caveat: it contains lanolin alcohol, a wool-derived ingredient that some babies are sensitive to, and sensitivity is more likely when skin is already broken or raw. So use this on healthy or healing skin as your everyday shield. If the skin is cracked and weepy, or your kiddo has reacted to wool or lanolin before, reach for plain petroleum jelly or the alternative below instead.
CeraVe Baby Healing Ointment
Same job, different ingredient philosophy. This one skips lanolin entirely, along with fragrance, parabens, and dyes, and adds ceramides, the fatty molecules that help rebuild the skin barrier itself. If your little one runs sensitive or you simply want the shortest possible list of potential irritants in the diaper zone, this is the barrier ointment I’d point you to.
Component 3: The Diaper Itself (and the Sizing Fix Nobody Tries First)
Before you switch brands, check the fit. A too-snug diaper presses wetness against skin and adds friction, which are two of the main drivers of diaper rash in the first place. The tell-tale signs: red pressure marks on the thighs or belly when the diaper comes off, or a sudden run of leaks in a size that used to work. Both usually mean it’s time to size up, even if the weight chart says otherwise. My youngest son has sized up early at every stage, and half his “mystery rashes” retired the same week.
Once the fit is right, the diaper’s ingredient list is worth a look, because during a flare you want as few potential irritants as possible sitting against inflamed skin. If you’re weighing a full brand switch, I’ve compared the major diaper brands side by side in our full diaper guide; for rash-recovery purposes specifically, this is the one I’d point to first.
Pampers Pure Protection
The reason this one kept surfacing in my research is the exclusion list: no fragrance, no parabens, no natural rubber latex, no elemental chlorine bleaching, with a plant-based liner. It also has a wetness indicator strip, which sounds like a gimmick until you’re running the every-two-hours battle plan and can check for wetness without undressing anyone. The line comes in the full newborn-through-toddler size range, so it grows with the sizing-up advice above.
Worth knowing: the design was updated recently and some longtime fans report the newer batches feel thinner than what they were used to, so if you’re a returning buyer, judge the box in your hands rather than your memory of the old one.
Component 4: The Air-Dry Setup (the Part Everyone Skips)
Bare-bottom time is the single most effective free treatment there is, and it’s the step most parents quietly abandon after the first puddle. The fix is not vigilance. The fix is surface protection, so an accident is a thirty-second cleanup instead of a carpet-shampoo event.
There are two ways to run it, and honestly this comes down to whether you’re a laundry person or a throw-it-away person. No judgment either way; I’ve been both, depending on the year.
Moonsea Waterproof Changing Pad Liners (3-pack)
Soft terry cloth on top, a waterproof membrane in the middle, non-slip backing underneath. Lay one down for floor time, toss it in the wash after, rotate the next one in. Two care notes that keep them working: wash cold or warm and tumble dry low, since high heat is what kills waterproof layers, and skip the bleach. Expect the edges to curl a bit over many washes; they’re workhorses, not heirlooms.
Buyockss Baby Disposable Underpads (100-count)
Absorbent-core pads with a waterproof backing, the same idea hospitals use, sized for babies. Zero laundry, which matters more than you think during a week when you’re already washing everything your child owns. The honest limitation: each pad is on the smaller side, so it’s perfect under a young baby but a determined nineteen-month-old crawler will simply relocate off of it. For movers, put two or three down and accept that you’re building a runway.
How to actually run a session: after a change, wipe or rinse, pat dry, then let your little one hang out diaper-free on the pad for ten or fifteen minutes. Books, blocks, a very committed rendition of “Wheels on the Bus,” whatever keeps them parked. Then barrier ointment or zinc paste, fresh diaper, done. Three of those a day during a flare is the goal. This is also the single easiest job to hand your partner: one adult on entertainment duty, one on standby with the towel.
The Supporting Cast: Wipes vs. Warm Water
During a flare, even “gentle” wipes can sting, and a crying baby makes everything harder. Two easy swaps: a soft washcloth with plain warm water for at-home changes, or if you’re sticking with wipes, choose a fragrance-free, alcohol-free version and dab rather than drag (my full sensitive-skin wipes guide covers which ones actually keep their ingredient promises). Either way, the finishing move is the same: pat completely dry, or let the air do it, before anything goes back on. Cream applied over damp skin just seals the wetness in, which is the opposite of the plan.
When to Stop Battling and Call the Pediatrician
Most diaper rash is ordinary irritation and clears with the routine above. Some of it isn’t, and the whole point of running a tight 48-hour system is that it makes the exceptions obvious. Call your pediatrician if you see any of these:
- No real improvement after two to three days of consistent treatment, or a rash that keeps getting worse despite it.
- Bright, beefy redness concentrated in the skin folds, with small red satellite spots scattered around the edges. That pattern often points to a yeast rash, which zinc and petrolatum won’t fix; it needs its own prescription-strength plan from your pediatrician.
- Blisters, open sores, pus, or bleeding.
- Fever alongside the rash, or a baby who seems genuinely miserable beyond normal diaper-change protests.
One practical habit during any flare: snap a photo of the rash once a day, in the same light. If you do end up calling the pediatrician, a three-day photo series beats any verbal description you can give over the phone.
And two don’ts worth stating plainly: skip baby powder and cornstarch entirely, since the AAP advises against powders because of what they can do to little lungs, and don’t reach for adult steroid or antifungal creams from your own medicine cabinet without your pediatrician’s go-ahead, because some of them are too strong for baby skin or the wrong tool for the actual cause. The AAP’s parent site has a solid overview of diaper rash care on HealthyChildren.org, and Mayo Clinic’s diaper rash guide is a good reference for symptoms that need a professional look.
FAQ
How long does diaper rash take to clear up?
With the full routine running, a mild irritation rash usually improves noticeably within two to four days. If you’re not seeing any movement by day three, or it’s worsening, that’s your cue to check in with the pediatrician rather than doubling down on more cream.
Zinc oxide or petroleum jelly, which one do I use?
Zinc oxide paste for an active, red rash. Petrolatum-based ointment as the everyday prevention layer once skin is calm. They’re teammates with different positions, not competitors.
Do I need to wipe off all the old cream at every change?
No, and please don’t. Gently remove the soiled surface layer and reapply on top. Scrubbing down to bare, healing skin every change causes exactly the friction you’re trying to prevent.
Is diaper rash a sign I’m doing something wrong?
It’s a sign your baby has skin and wears diapers. Nearly every diapered child gets rashes, teething weeks and new foods make them more likely, and the third-kid honest truth is that you can do everything right and still meet a Tuesday-night surprise. The system isn’t about perfection, it’s about fast recovery.