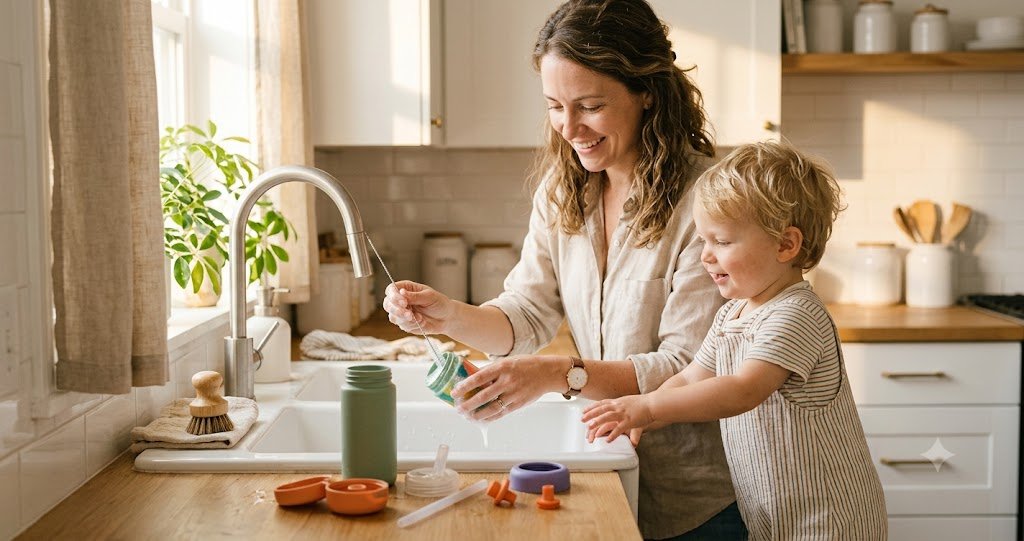
You know the moment. You’re rinsing your kid’s water bottle at the sink, you flip back the spout, and there it is: a slick of pink slime around the straw base. Or worse, you pull the silicone straw out for the first time in… let’s not say how long… and the inside is speckled black.
Take a breath. Every parent with a toddler water bottle has been here, including me — I’ve fished things out of my sons’ straws that I wouldn’t describe over dinner. The good news: almost everything growing in there is preventable with a two-minute daily habit, and even a properly gross bottle can usually be rescued. This guide covers what that gunk actually is, the daily and weekly cleaning routines that keep it away, exactly what to do when you find mold, and when to give up and replace the parts.
First: That Pink Stuff Isn’t Actually Mold
Quick microbiology lesson, because it changes how you clean.
The pink or orange slime that shows up around straws, valves, and lid threads is almost always Serratia marcescens, a bacterium, not a mold. It’s the same stuff that forms pink rings in toilet bowls and shower corners. It loves moisture and feeds happily on the milk residue, juice sugars, and backwash that end up in toddler bottles. Because it’s a surface biofilm, it wipes and scrubs off fairly easily. But it comes back fast if the bottle stays damp.
Actual mold looks different: black, dark green, or gray specks and fuzzy patches, usually hiding inside straws, under silicone gaskets, and in the little channels of spill-proof valves. Mold roots into scratches and porous surfaces, which is why a quick rinse won’t touch it and why badly molded soft parts often need replacing rather than rescuing.
| What you see | What it is | Can you fix it? |
|---|---|---|
| Pink/orange slime on lid, spout, threads | Serratia bacteria (biofilm) | Yes — scrub + sanitize, then keep it dry |
| Black/green specks inside straw or under gasket | Mold | Sometimes — sanitize hard parts; replace straws & gaskets if it returns |
| Cloudy film, sour smell | Milk/formula residue starting to spoil | Yes — hot soapy wash + bottle brush |
| White chalky spots | Mineral deposits from hard water | Cosmetic only — vinegar soak dissolves them |
Why Toddler Bottles Grow Gunk So Much Faster Than Regular Cups
It’s not your imagination, and it’s not your housekeeping. Toddler bottles are structurally designed to trap water:
- Straws are long, narrow tubes you can’t see inside, and a sponge physically cannot reach.
- Spill-proof valves work by having tiny slits and channels that hold liquid by design. What holds water in also holds water in.
- Silicone gaskets and O-rings sit in grooves where a film of water hides after every wash.
- Backwash. Toddlers don’t sip so much as gargle in reverse. Milk, crackers, and mystery particles all travel back up the straw.
- The bottle lives in warm places: car seats, daycare cubbies, the bottom of a stroller basket. Exactly the climate bacteria prefer.
So the fix isn’t scrubbing harder once a month. It’s a short daily routine that removes the two things microbes need: food residue and standing moisture.
The 2-Minute Daily Routine
This is the whole secret. Do this every evening and you may never meet pink slime again.
- Take everything apart. Lid off, straw out, valve popped, gasket peeled from its groove. Yes, every single day. A bottle washed assembled is a bottle washed on the outside only.
- Rinse out leftovers immediately. Especially if there was milk in it; milk residue is the number-one food source for the stuff you’re trying to prevent.
- Wash with hot, soapy water. Regular dish soap is fine. Run a straw brush through the straw once or twice, hit the valve slits and lid threads with the small brush, and scrub the bottle interior with a bottle brush.
- Rinse well. Soap film left in a straw tastes exactly how your toddler will describe it: yucky.
- Air-dry completely overnight, fully disassembled. Parts standing separately on a rack, bottle upside down at an angle so air circulates. Never screw a lid back onto a damp bottle; trapped moisture in the threads is where the smell starts.
Straw brushes: BEUICIRY 12-Inch Straw Brush Set (10-Pack)
Extra-long, extra-thin pipe brushes sized for sippy cup and water bottle straws: an Amazon’s Choice pick with thousands of reviews from parents cleaning exactly this kind of bottle. At around $4 for ten, you can keep one at the sink, one in the diaper bag, and lose three without noticing.
Or the full kit: OXO Good Grips Water Bottle Cleaning Set
A three-piece set covering every crevice on a toddler bottle in one grab: a large bottle brush for the body, a straw brush, and a looped detail brush built specifically for lid threads, spout hinges, and valve slits. Around $15, from the brand whose bottle brushes already live next to half of America’s sinks.
The Weekly Deep Clean (10 Minutes)
Once a week, usually Sunday night while I’m already ignoring the rest of the kitchen, everything gets a deeper pass. Pick the method that matches your bottle’s materials — this matters more than most guides admit.
If the parts are dishwasher-safe
Run lids, straws, valves, and gaskets through the dishwasher on the top rack with a heated dry or sanitize cycle if your machine has one. The catch: toddler bottle parts are tiny and love to fall onto the heating element, where they die a dramatic melty death. A closed dishwasher basket solves this permanently.
Dr. Brown’s Dishwasher Basket for Small Parts
A latching basket that corrals straws, valves, and gaskets on the top rack, and a category best-seller at about $7. Originally designed for baby bottle parts, which are the same size as everything a toddler bottle sheds when you take it apart.
One important exception: most insulated stainless steel bottles should not go in the dishwasher unless the manufacturer explicitly says so. High heat can compromise the vacuum seal and the exterior finish. Check your brand’s care page — when in doubt, the steel body gets hand-washed and only the plastic and silicone bits ride the top rack.
For stainless steel bottle interiors: cleaning tablets
If the inside of a steel bottle smells funky or has tea-colored staining, drop in a cleaning tablet with warm water, wait 15–30 minutes, and rinse. No scrubbing, no bleach on metal (chlorine bleach can corrode stainless steel over time, which is why the popular tablets are chlorine-free).
Bottle Bright Cleaning Tablets
The category classic, with tens of thousands of reviews: chlorine-free effervescent tablets originally made for stainless bottles, thermoses, and tumblers. Drop, fizz, rinse. Around $8 for a 12-pack, and review after review describes rescuing bottles that had been quietly fermenting in a car or gym bag for a week.
The drying setup
Since dryness is half the battle, it’s worth having a dedicated landing zone so parts actually air out instead of puddling in the dish rack.
Boon Grass Countertop Drying Rack
The flexible “grass blades” hold straws, valves, and gaskets upright with air on all sides, and it’s one of the rare baby items that looks intentional on a counter. Around $16, and it long outlives the bottle-and-sippy years as a general small-parts dryer. One honest caveat straight from the CDC: drying racks can themselves trap moisture, so dedicate it to bottle parts only and run it through a wash every few days.
Found Mold? Here’s the Rescue Protocol
Okay, prevention failed, or you inherited a bottle from the bottom of the daycare bag. Here’s the triage, from mildest to most aggressive:
| Step | Method | Good for |
|---|---|---|
| 1. Scrub | Hot soapy water + straw brush and detail brush on every part | All cases — always start here; sanitizing doesn’t work through gunk |
| 2. Boil | 5 minutes in rolling boiling water | Silicone straws & gaskets, and plastics marked boil-safe. Not for insulated steel bottles or unmarked plastic valves |
| 3. Bleach sanitize | Soak 2 minutes in a solution of 2 teaspoons unscented bleach per gallon (16 cups) of cool water; drain and air-dry without rinsing, per CDC guidance for feeding items | Plastic and silicone parts with visible mold. Skip for stainless interiors |
| 4. Replace | New straw, valve, or gasket | Mold that survives or returns within days, black staining inside silicone, any part with cracks or bite holes |
The honest truth about step 4: silicone is slightly porous, and once mold has rooted into it, you can kill the surface growth and still see the staining. And it tends to come back. Straws and gaskets are cheap. When in doubt, replace. I keep a full spare set in the drawer for exactly this, because the moldy-straw discovery always happens at 7:40 a.m. on a daycare morning. And if you’re wondering which parts tend to fail first on popular bottles, my breakdown of 1-star reviews on the most popular toddler bottles covers exactly what breaks and when.
How Often to Replace Straws, Valves & Gaskets
| Part | Replace every | Replace sooner if |
|---|---|---|
| Silicone straws | 2–6 months | Bite marks, cloudiness, staining that won’t scrub out, mold recurrence |
| Spill-proof valves | ~3–6 months | Leaking, whistling, visible wear in the slit |
| Gaskets / O-rings | ~6 months | Stretched loose, cracked, or permanently stained |
| The bottle itself | When damaged | Deep interior scratches (plastic), dents that break the vacuum seal (insulated steel), stripped threads |
Toddlers who chew their straws (and I’m raising one of those) burn through the low end of every range above. Chewed silicone develops micro-tears that trap moisture and defeat even good cleaning.
FAQ
Does vinegar kill mold in water bottles?
Vinegar is decent at dissolving mineral deposits and cutting odors, and it can knock back some surface growth, but it is not a registered sanitizer and won’t reliably kill mold rooted in silicone. Use vinegar for hard-water film; use heat or a properly diluted bleach solution when you actually see mold, and replace soft parts that stay stained.
Can the dishwasher alone kill mold?
A hot cycle with heated dry does a solid job on parts it can reach. But water can’t circulate through an assembled straw or a closed valve any better than your sponge can. Disassemble first, scrub visible gunk off, then let the dishwasher sanitize. Machine plus brush beats either one alone.
How do daycare bottles survive all day without cleaning?
Water only. That’s the trick. A bottle that holds nothing but water all day is dramatically slower to grow anything than one that had milk at breakfast. Send water in the bottle and serve milk in an open cup at meals, which is also what the AAP recommends for healthy drink habits anyway. If your kiddo is still working on open-cup skills, my cup transition roadmap covers that whole journey, age by age.
Do I need to sterilize toddler bottles like newborn bottles?
No. Daily sanitizing matters most for babies under 2 months, premature infants, and immunocompromised kids — that’s the CDC’s line, and toddlers are well past it. For a healthy toddler, thorough daily washing plus complete drying is enough, with sanitizing reserved for after illness or visible growth.
Is it easier to just buy a bottle that doesn’t do this?
Somewhat, yes. Fewer parts means fewer hiding spots: bottles with one-piece silicone lids or simple flip straws are meaningfully easier to keep clean than five-piece valve systems. Cleanability is one of the main things I score in my toddler water bottle roundup, if you’re shopping with a fresh start in mind.